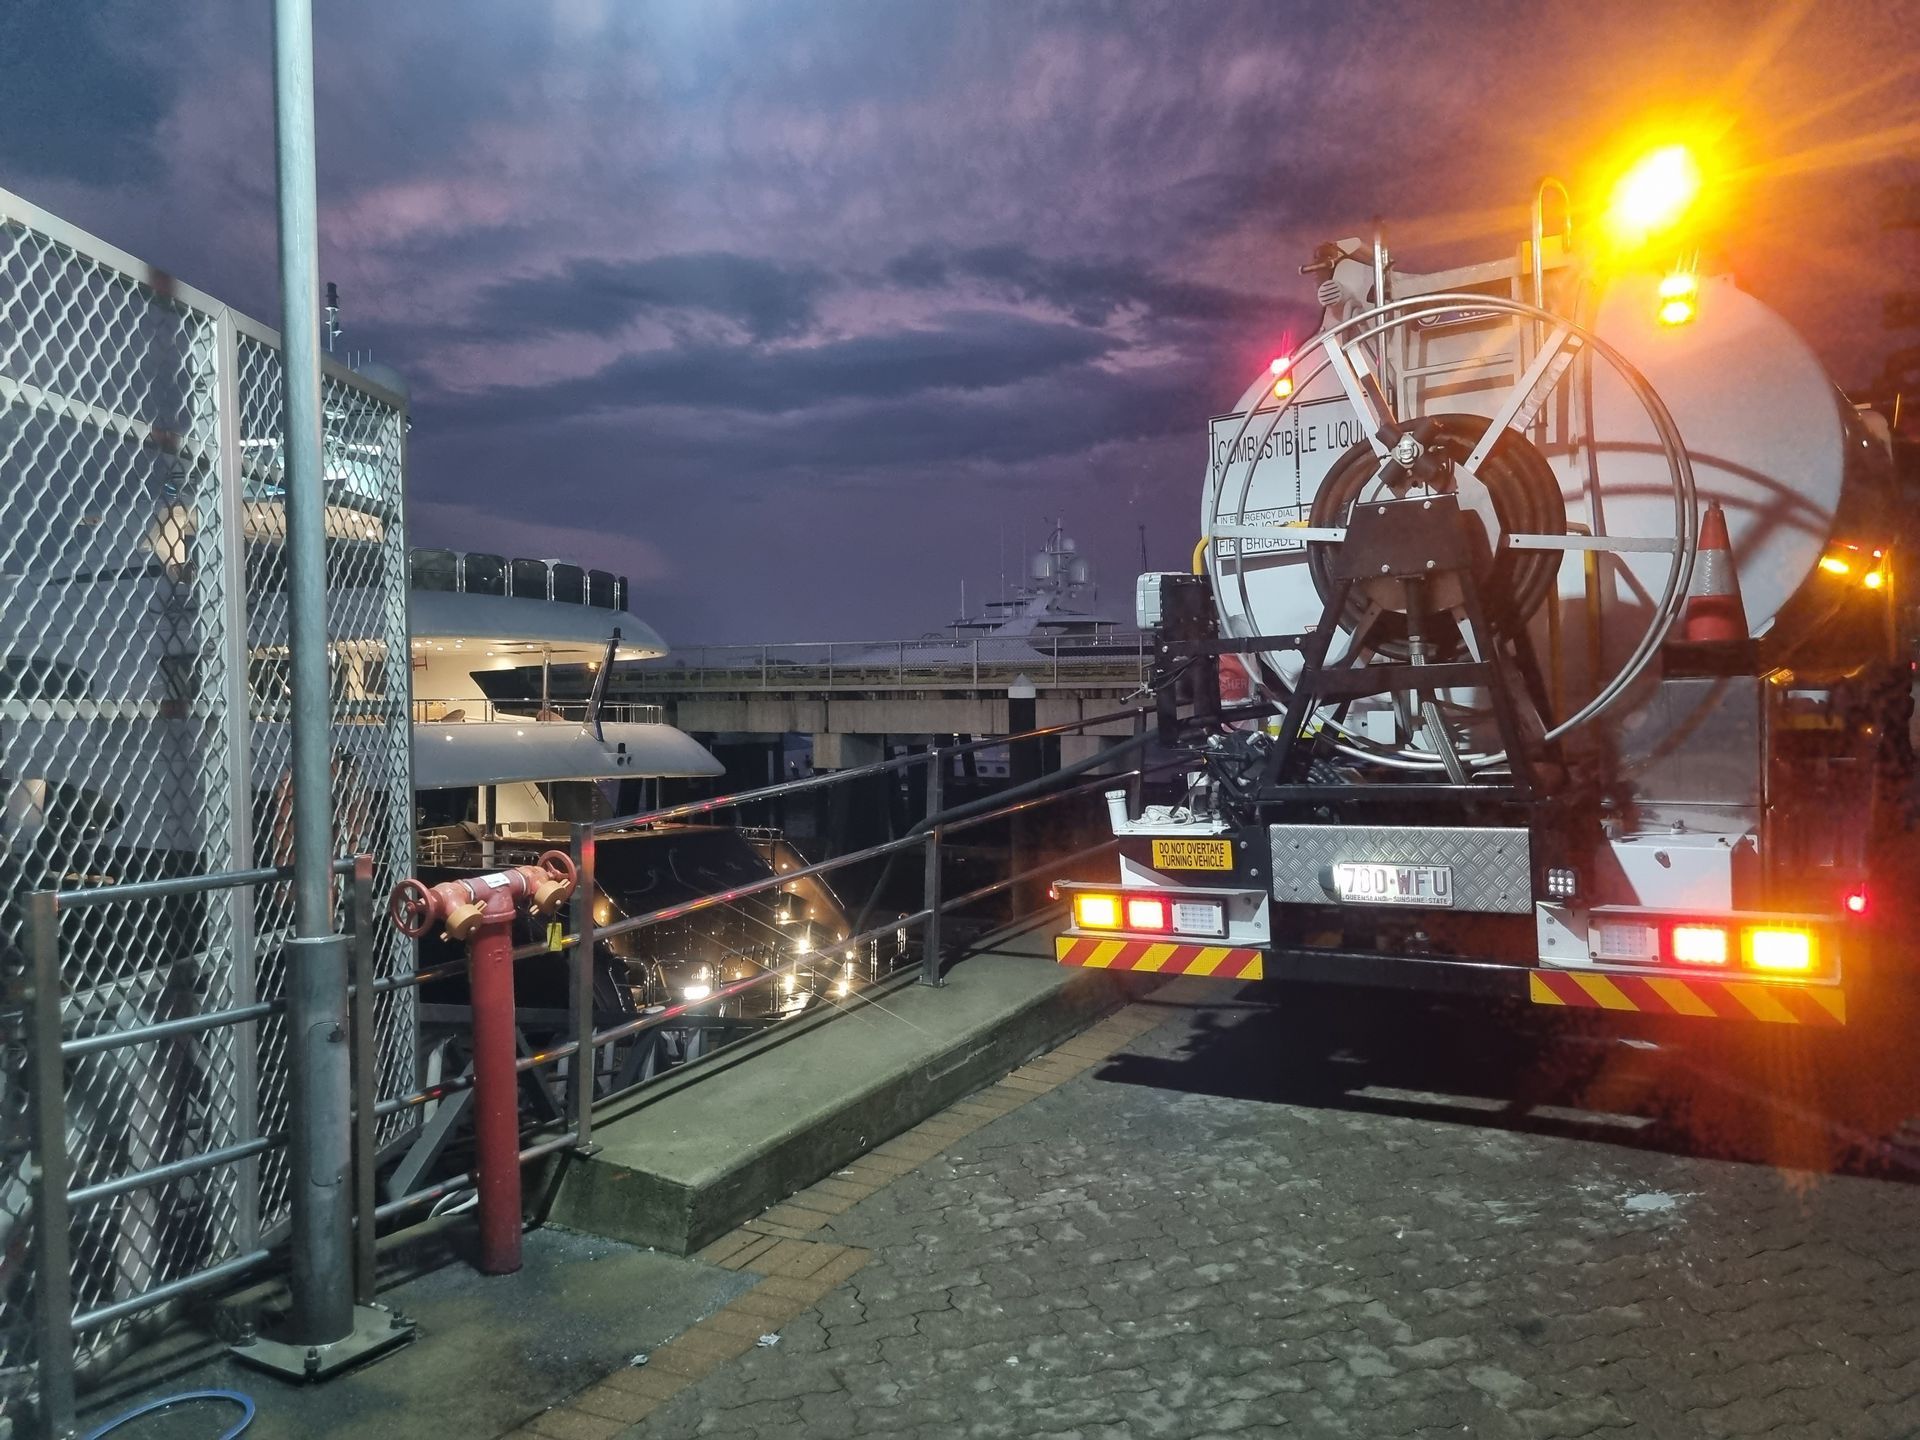
Why tank design matters more than you think
A fuel tank isn’t just a container. It’s an active environment.
If it’s designed poorly, it will:
- Trap water
- Encourage condensation
- Allow debris to settle
- Promote microbial growth
And once contamination starts, it doesn’t stay contained. It spreads through your entire fuel system, filters, injectors, and engines.
The result?
Reduced performance, increased maintenance, and avoidable downtime.
The most common tank design flaws (and what they cause)
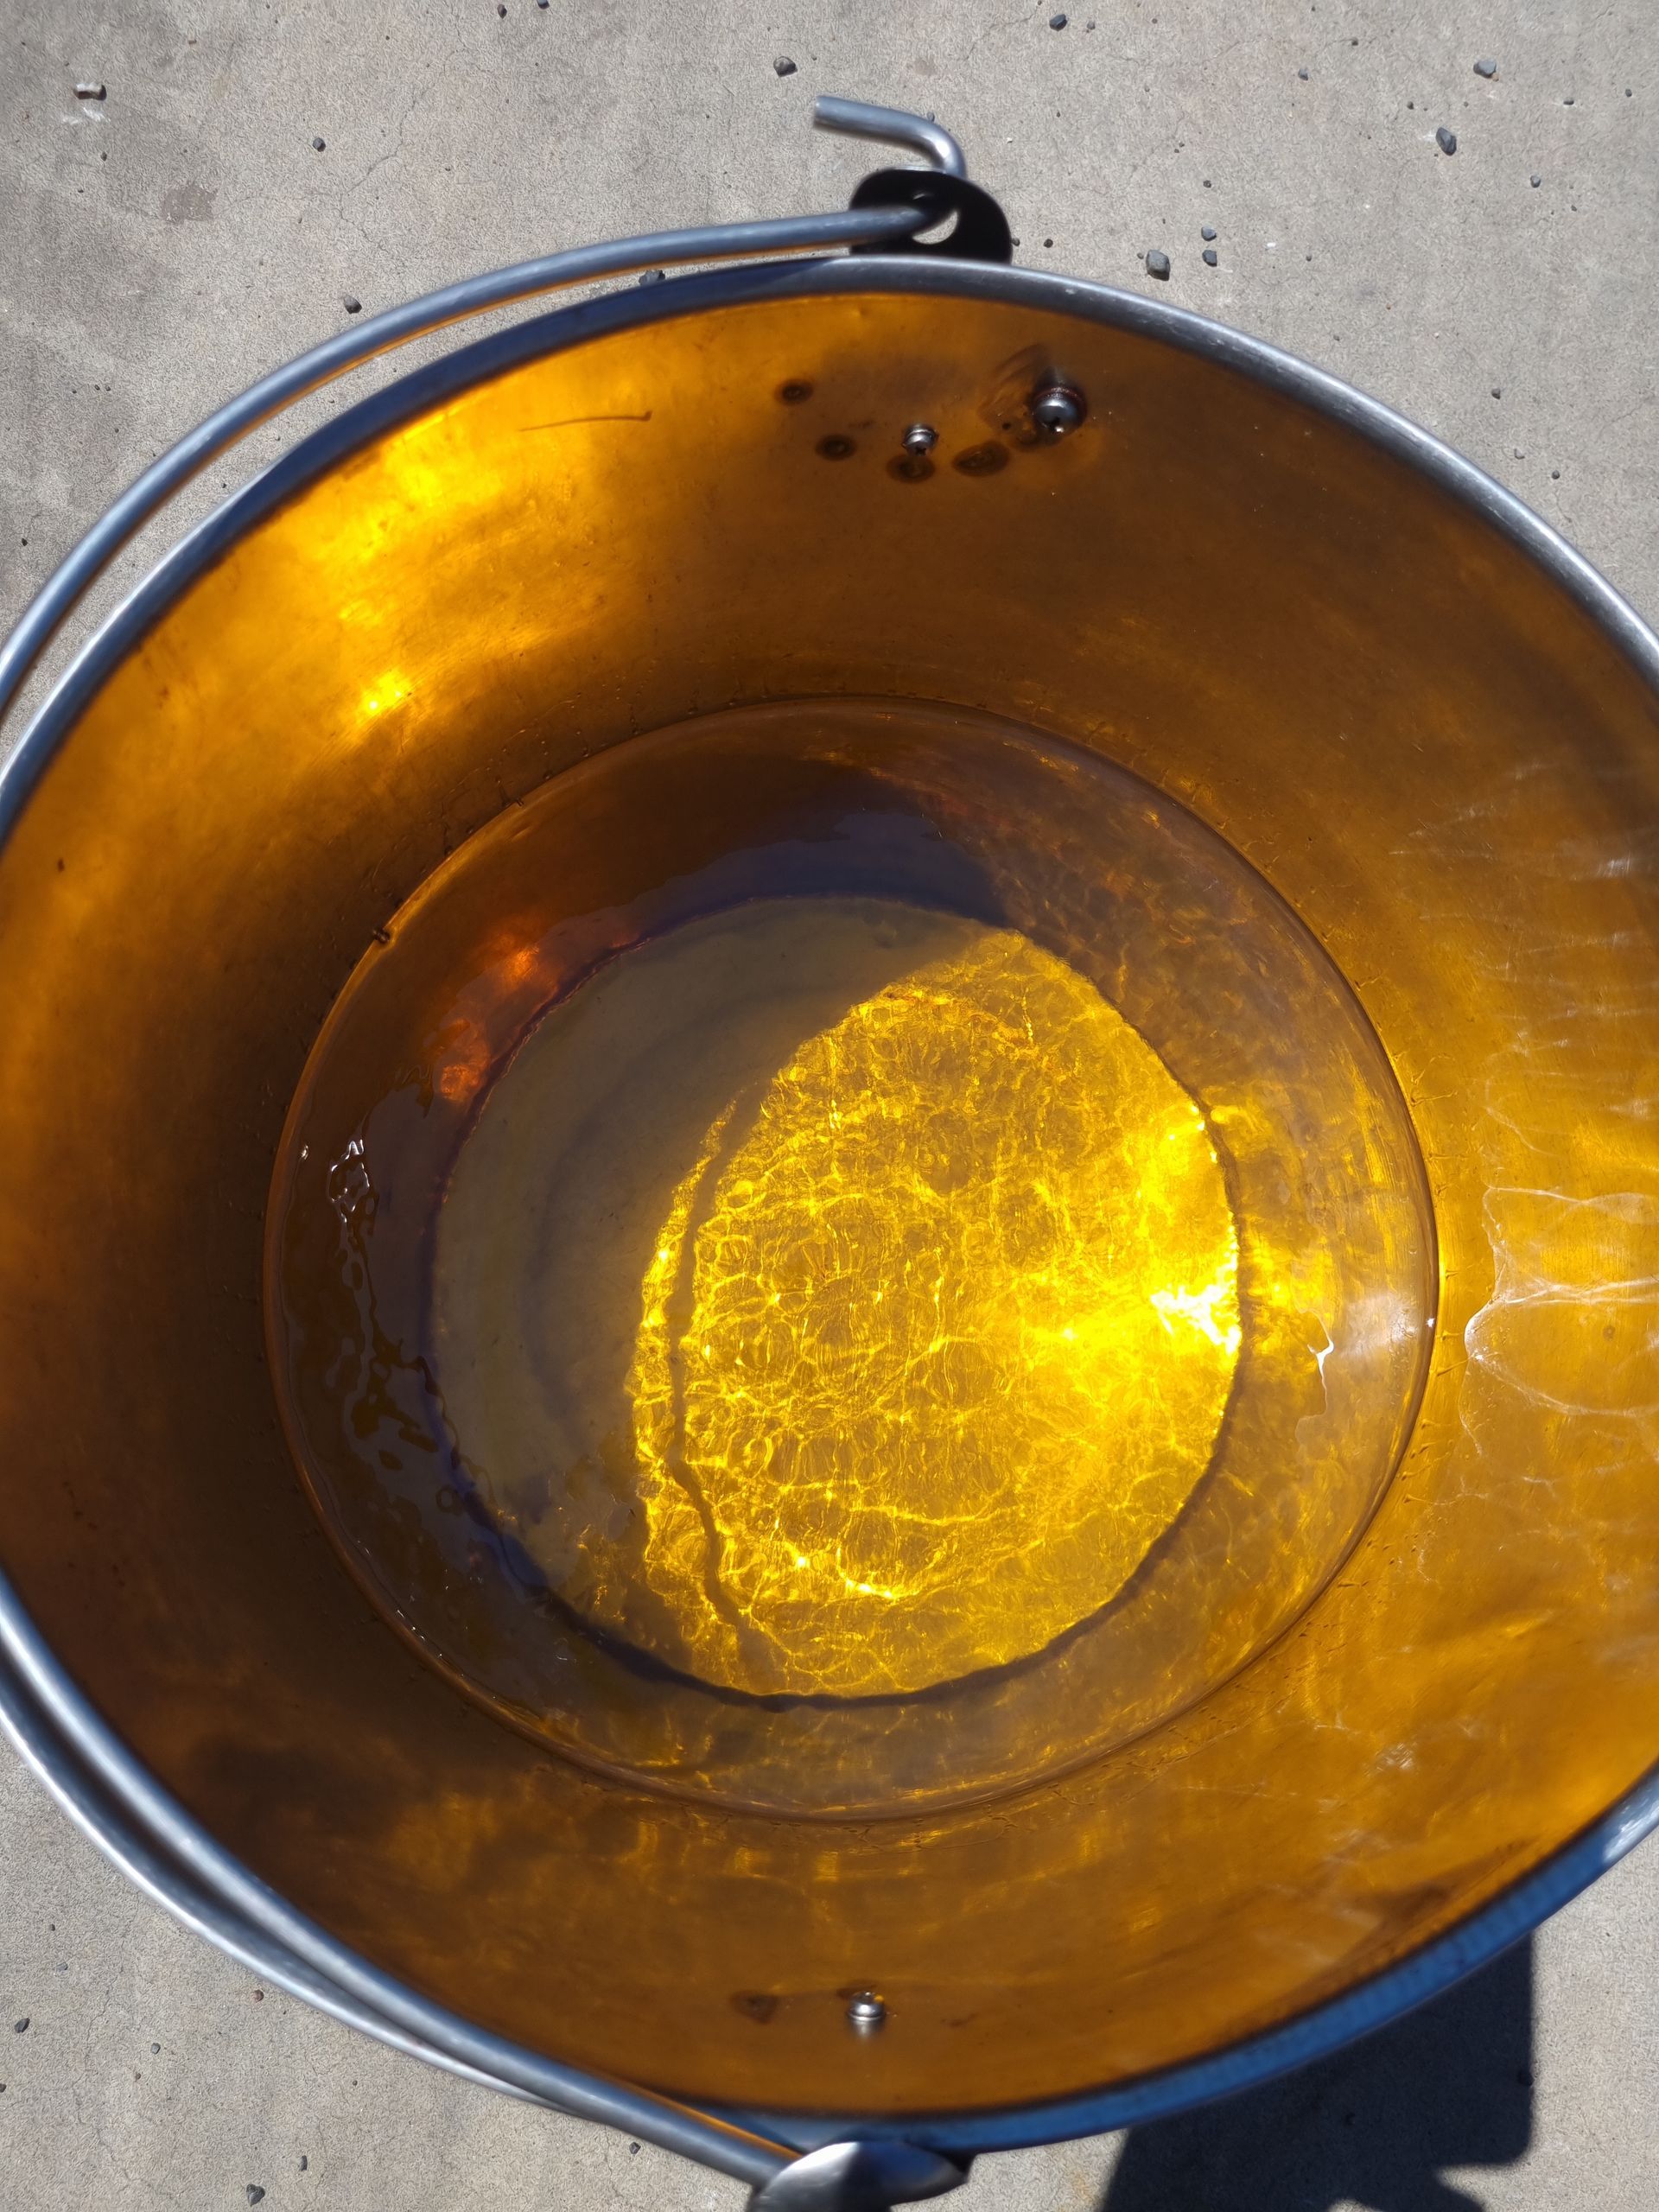
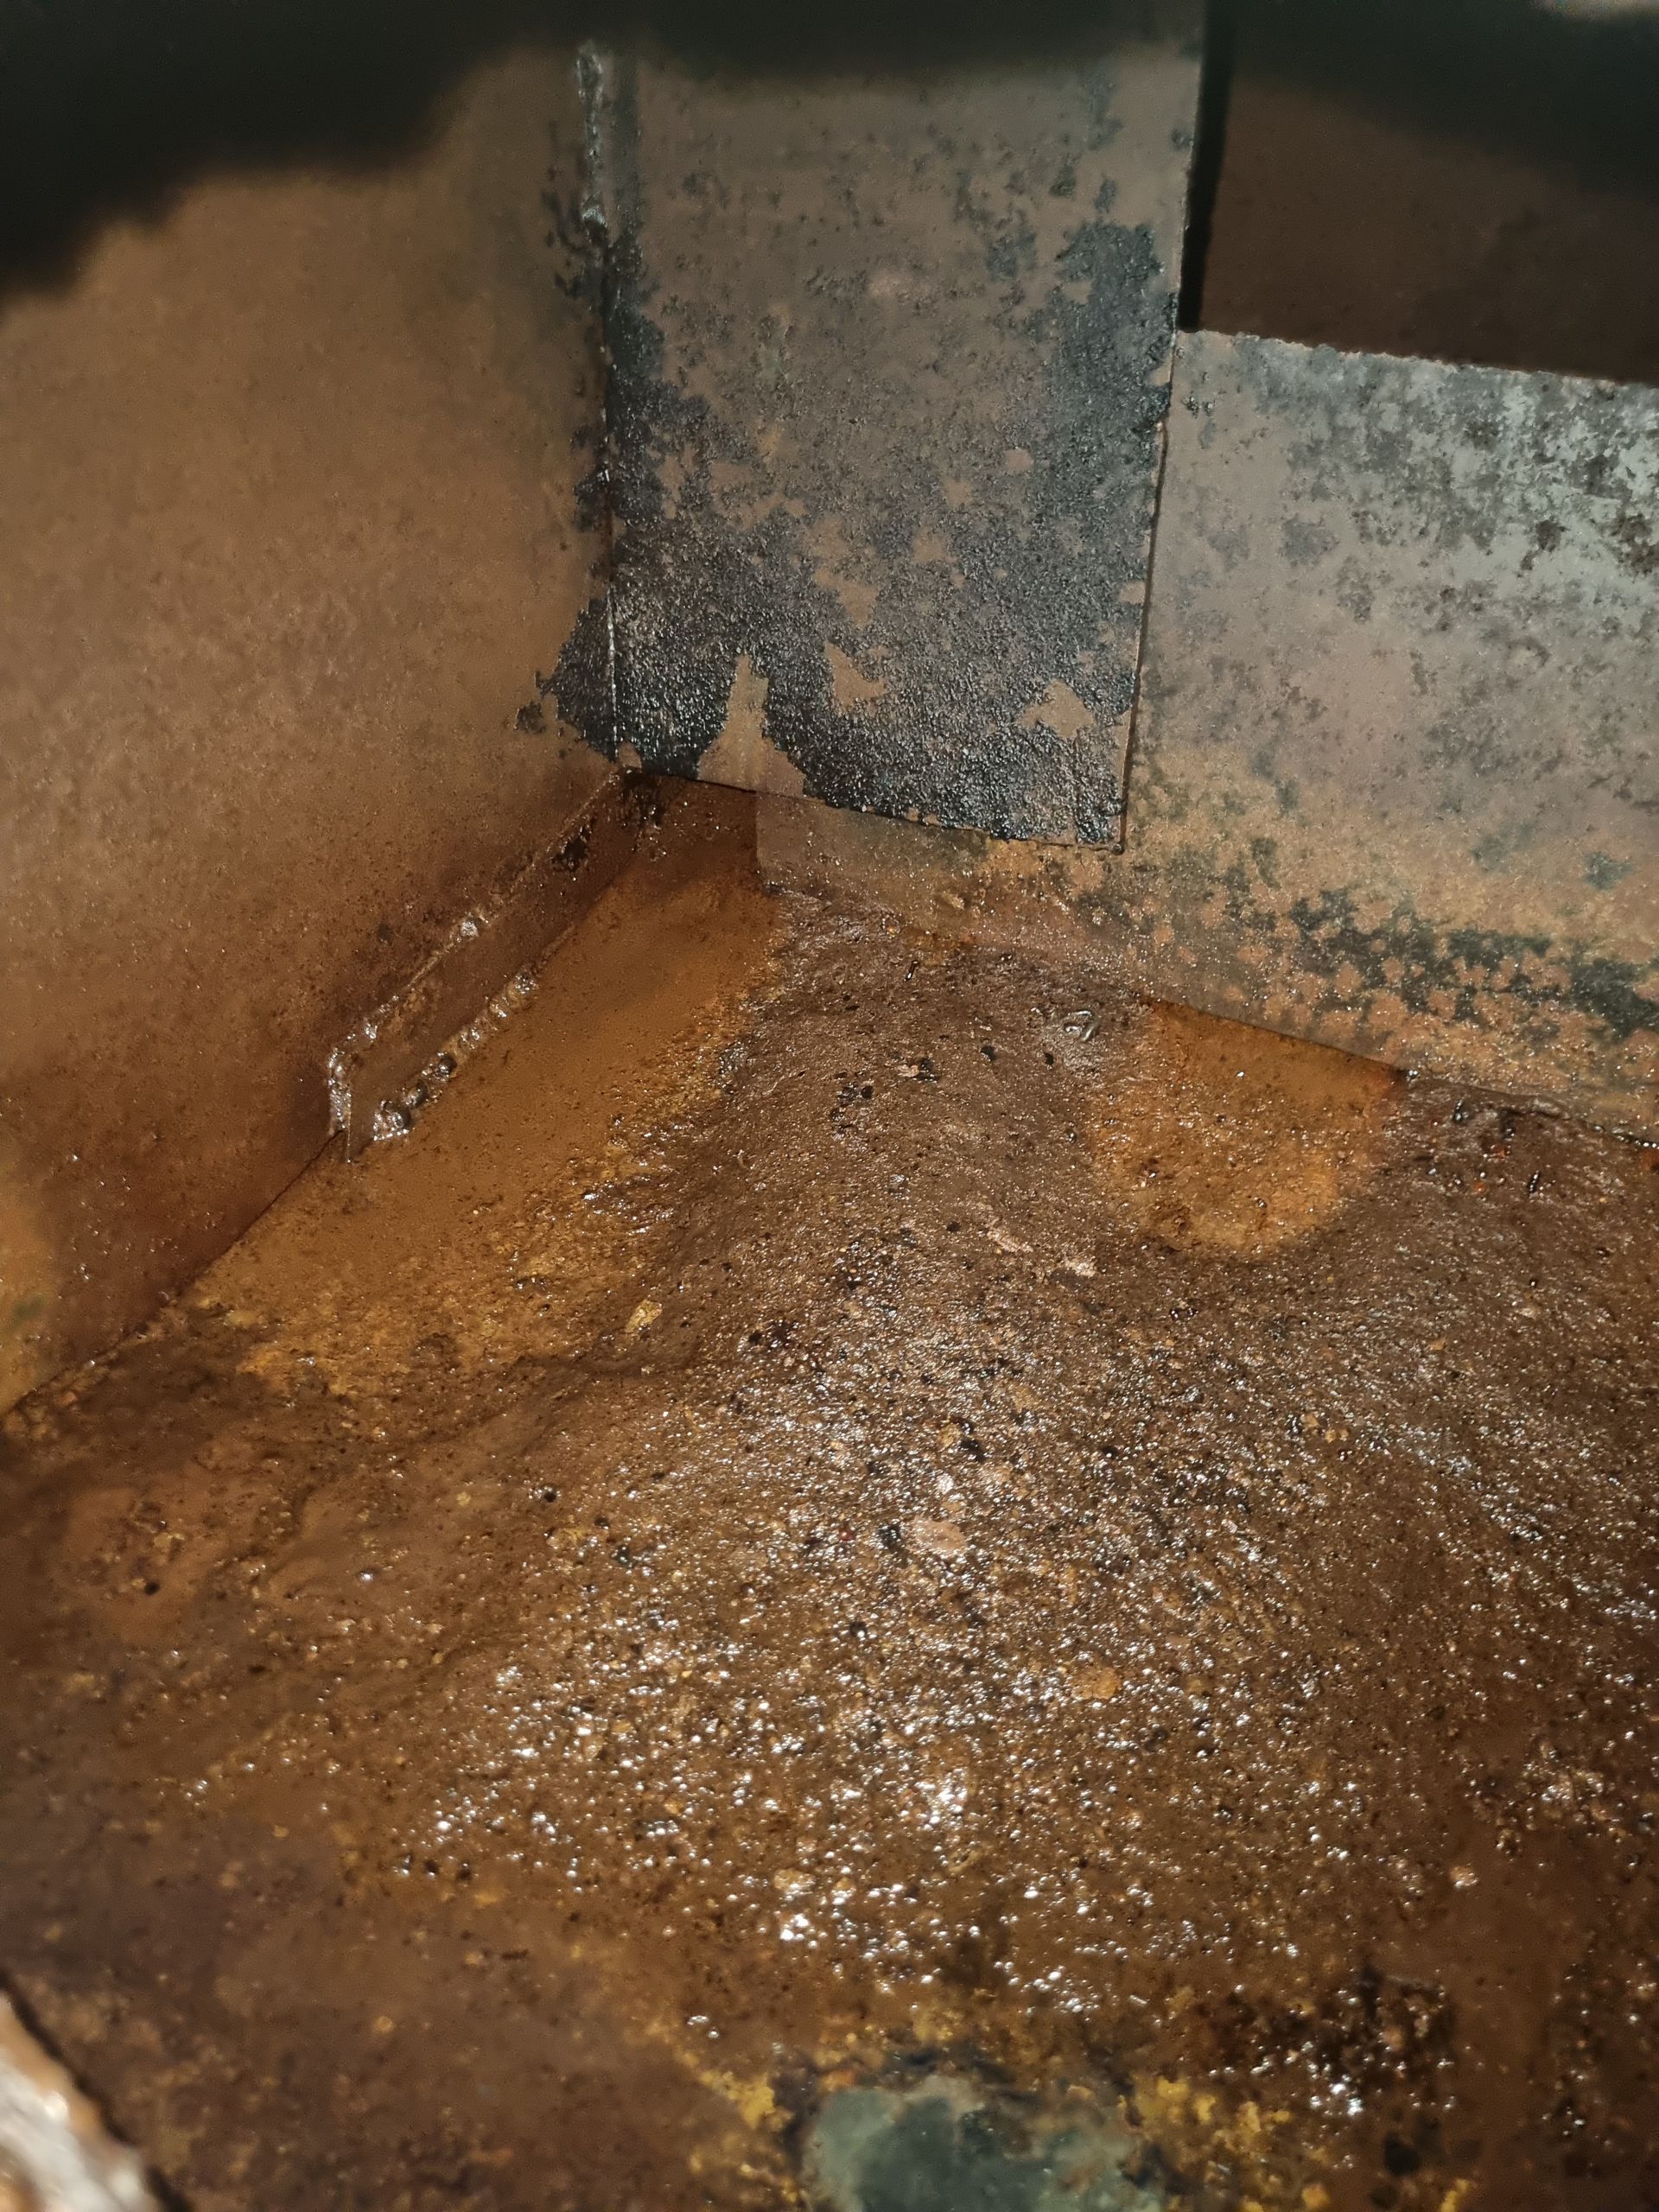
1. Flat-bottom tanks that trap water
The issue:
Flat-bottom tanks don’t allow water to drain properly. Instead, water settles and stays at the base.
What happens next:
- Water builds up over time
- Microbial growth begins
- Sludge forms and spreads
Better approach:
Tanks with sloped bottoms or proper drainage points make it easier to remove water before it becomes a problem.
2. Poorly positioned outlets
The issue:
If your fuel outlet sits too low, it pulls contaminated fuel directly into your system.
What happens next:
- Sediment and sludge enter fuel lines
- Filters clog faster
- Engine performance drops
Better approach:
Outlets should be positioned above the tank floor to avoid drawing in settled contaminants.
3. Inadequate ventilation systems
The issue:
Poor ventilation allows moisture to enter the tank through air exchange.
What happens next:
- Condensation forms inside the tank
- Water accumulates over time
- Fuel quality deteriorates
Better approach:
Install proper venting systems, ideally with desiccant breathers to control moisture.
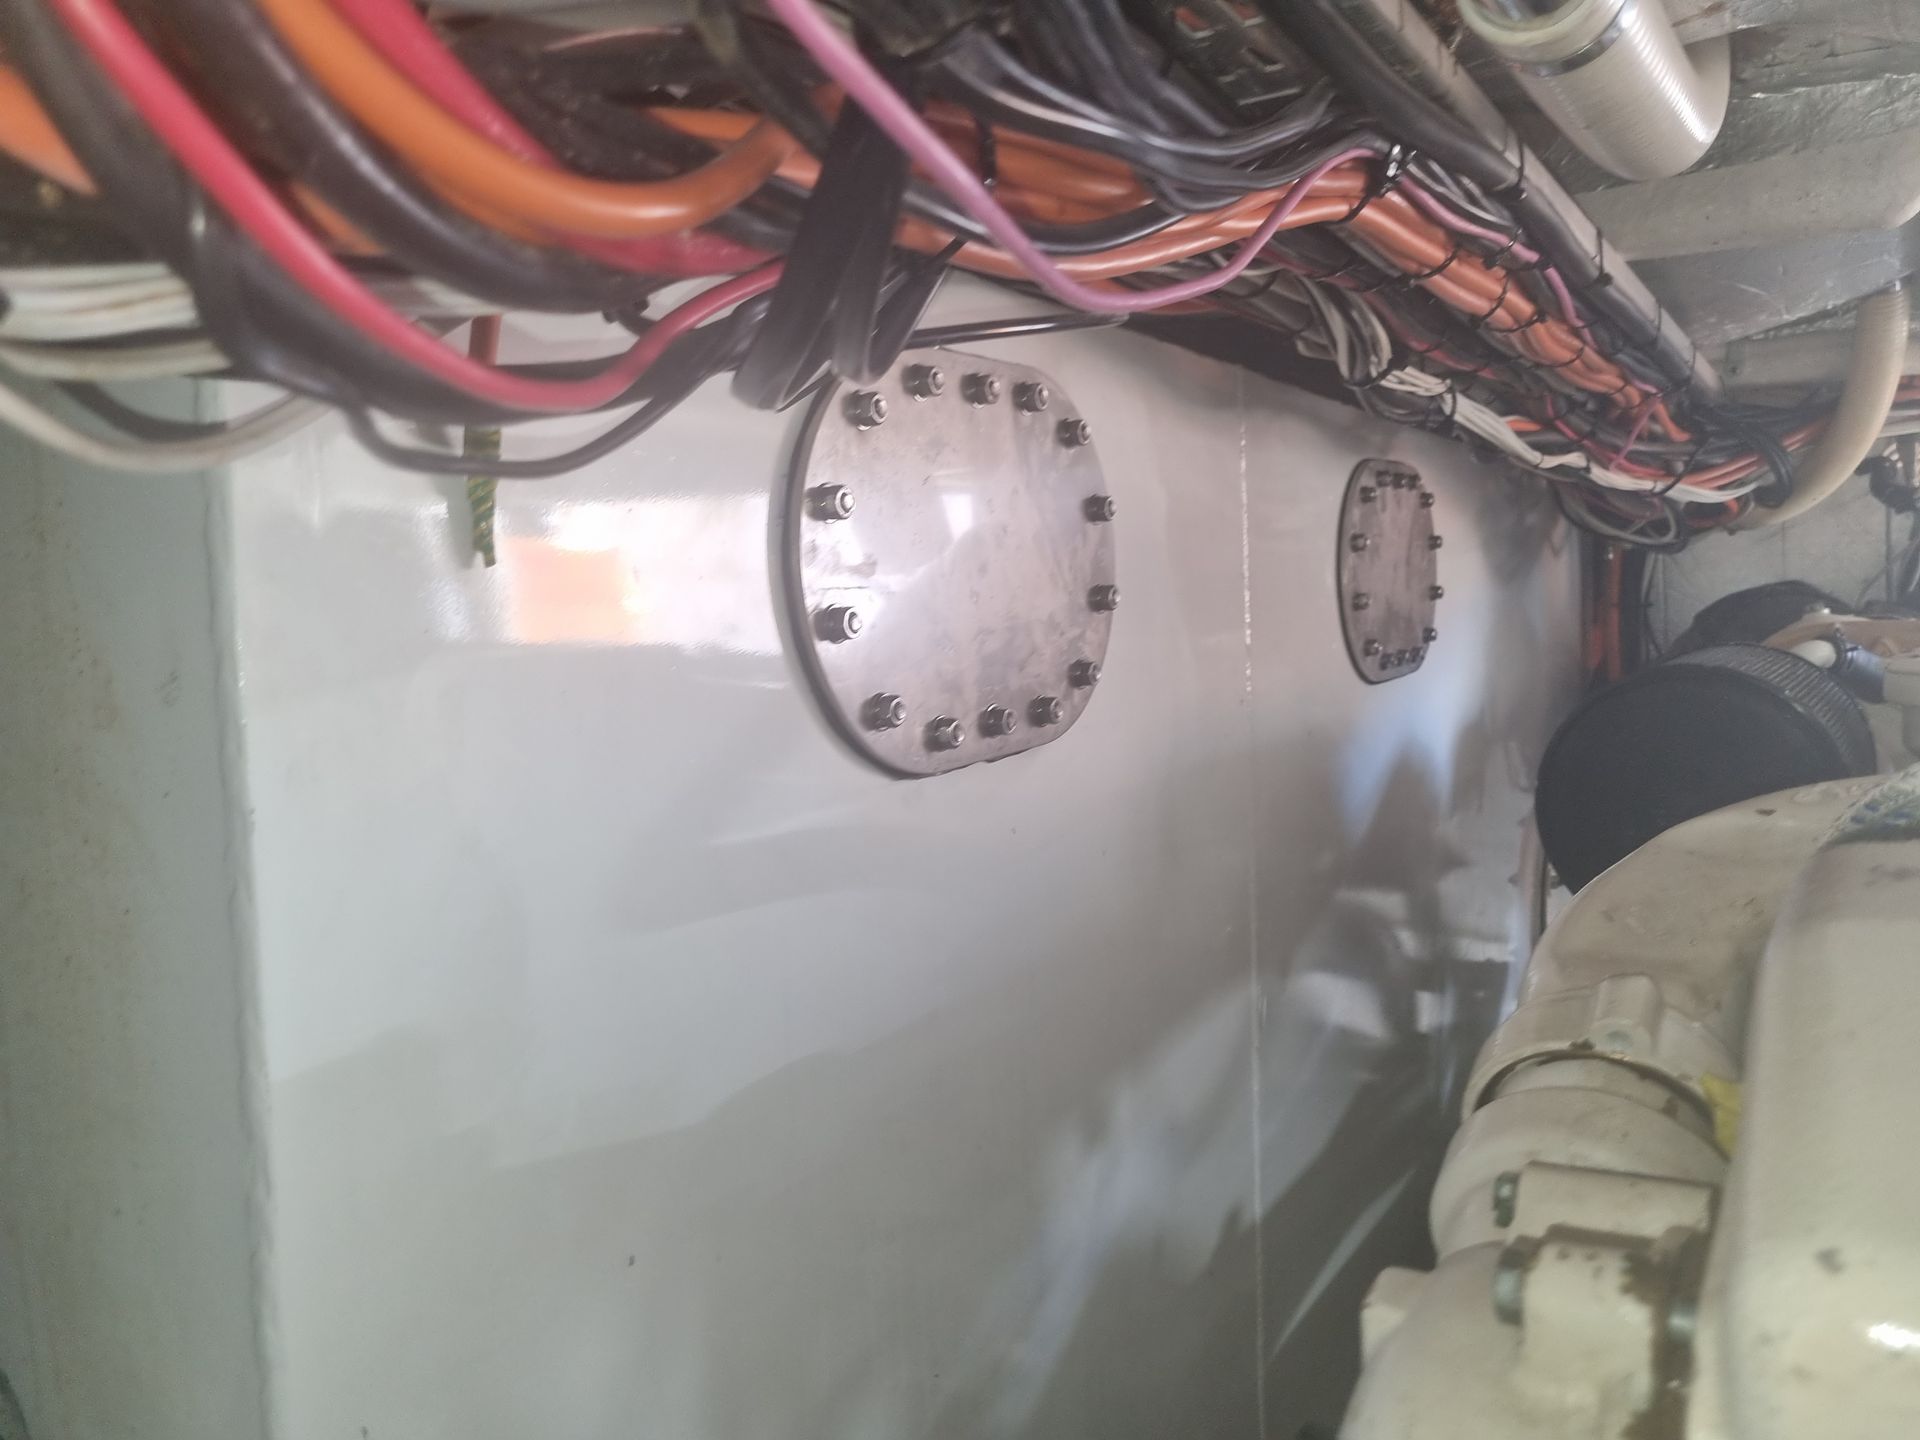
4. Lack of access for cleaning and inspection
The issue:
If you can’t easily access your tank, maintenance gets delayed or ignored.
What happens next:
- Contaminants build up unnoticed
- Small issues become major problems
- Cleaning becomes more costly and complex
Better approach:
Tanks should be designed with access points for inspection, sampling, and cleaning.
Good vs bad tank design (real-world example)
Poor design setup:
- Flat-bottom tank
- No drainage system
- Standard vent (no moisture control)
- Outlet at the lowest point
Result:
Recurring contamination, frequent filter changes, rising maintenance costs
Improved design setup:
- Sloped base with drainage
- Moisture-controlled ventilation
- Raised outlet position
- Easy access for inspection
Result:
Cleaner fuel, longer equipment life, fewer disruptions
Step-by-step: How to fix contamination caused by poor tank design
If your system is already experiencing issues, here’s where to start.
Step 1: Identify contamination patterns
Look for:
- Repeated filter blockages
- Presence of water or sludge
- Ongoing fuel quality issues
If the problem keeps returning, design is likely the cause.
Step 2: Inspect your tank setup
Check:
- Tank base (flat or sloped?)
- Drainage capability
- Outlet height
- Ventilation system
This gives you a clear picture of where the risk points are.
Step 3: Remove existing contamination
Before fixing the design, clean the system:
- Drain water
- Remove sludge
- Clean the tank thoroughly
This resets your starting point.
Step 4: Upgrade key components
You don’t always need a full replacement.
Start with:
- Installing proper drainage
- Upgrading vents to control moisture
- Adjusting outlet positioning
Small changes can make a significant difference.
Step 5: Implement ongoing monitoring
Once improvements are made:
- Schedule regular fuel testing
- Monitor for early signs of contamination
- Keep maintenance consistent
Prevention is what keeps the problem from returning.
Quick tips you can apply immediately
- Check if your tank has visible water at the base
- Confirm whether your outlet is pulling from the lowest point
- Inspect vents for exposure to moisture
- Review how often your tank is cleaned and tested
If any of these raise concerns, it’s worth addressing now—not later.
Why fixing design solves the root problem
You can clean fuel.
You can replace filters.
You can even flush the system.
But if the tank design remains the same, the contamination will return
.
Fixing the design means:
- Fewer recurring issues
- Lower maintenance costs
- More reliable operations
It’s not just a fix, it’s a long-term solution.
Fuel contamination isn’t always about fuel quality. Often, it’s about the environment in which fuel is stored. A poorly designed tank creates ongoing problems. A well-designed system prevents them before they start.
The goal is simple:
Stop treating the symptoms, and fix the source.